Como Hacer Flores Con Billetes: Easy Step-by-Step Guide
The art of como hacer flores con billetes has gained immense popularity, blending the practical with the beautiful. Origami techniques, often associated with traditional Japanese art, provide the foundation for crafting these unique gifts. Many choose to present their meticulously folded creations within a sophisticated presentation box, elevating the gesture to a truly special occasion. Discovering como hacer flores con billetes offers a rewarding experience, letting you transform ordinary currency into a memorable token for loved ones or even a creative project guided by a DIY tutorial online.

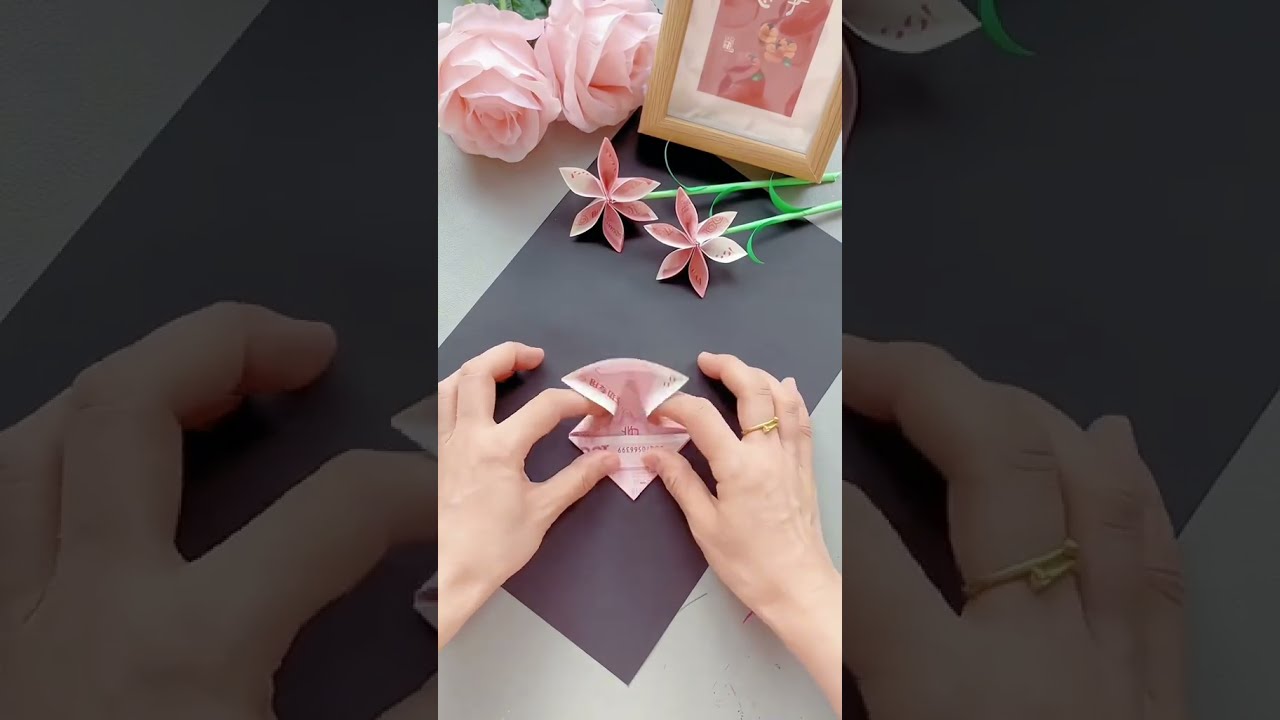
Image taken from the YouTube channel MANUALIDADES YONAIMY , from the video titled 🌸💲 FLORES CON BILLETES .- ONE DOLLAR FLOWER .
Crafting Blooms from Bills: Your Easy Guide to Making Money Flowers
"Como hacer flores con billetes" - crafting flowers from money - might seem intimidating, but it's a fun and impressive project! This guide will walk you through the steps, offering clear instructions and helpful tips to ensure beautiful results. We’ll break down the process into manageable stages, so even beginners can create stunning money flower arrangements.
Gathering Your Supplies: Preparing for Success
Before we start folding, let's ensure you have everything you need. This pre-planning will make the entire process smoother and more enjoyable.
- Currency: The core ingredient! Decide how many flowers you want and how many bills each flower will require (typically 5-7 bills per flower). Fresh, crisp bills work best, as they hold their shape well. Lower denominations are a good starting point.
- Floral Wire: Thin, flexible floral wire is essential for securing the petals and assembling the flower.
- Floral Tape: This stretchy, adhesive tape blends seamlessly with the wire and provides a clean, professional finish. Opt for green floral tape for a natural look.
- Scissors: For trimming the wire and tape.
- Optional Embellishments: Consider adding decorative elements like beads, ribbons, or artificial leaves to enhance your flowers.
- Optional: Glue Dots: Small glue dots are helpful for securing intricate folds without damaging the bills.
Table: Essential Supplies and Their Uses
| Supply | Use | Notes |
|---|---|---|
| Crisp Bills | Forming the petals of the flower | Use low denominations to start. Clean, undamaged bills are preferred. |
| Floral Wire | Securing petals and attaching the flower to a stem | Choose a thin gauge for easy manipulation. |
| Floral Tape | Covering the wire and creating a smooth, finished stem | Green is a common and natural-looking choice. |
| Scissors | Cutting wire and floral tape | Use a sharp pair of scissors for clean cuts. |
| Optional: Beads | Adding decorative accents to the center of the flower | Choose beads that complement the color of the money. |
| Optional: Glue Dots | Securing intricate folds or layers | Use sparingly to avoid damaging the currency. |
Folding the Petals: Mastering the Basic Techniques
The way you fold the bills is what gives each flower its unique appearance. We’ll cover a classic and easy-to-learn method.
- Preparing the Bill: Lay a bill flat on a clean surface.
- Folding in Half (Lengthwise): Fold the bill in half lengthwise, creating a crease. Unfold. This crease will serve as your guide.
- Folding to the Center Crease: Fold each of the long edges towards the center crease you just made.
- Folding in Half Again: Fold the bill in half again, along the original lengthwise crease. You should now have a long, narrow strip.
- Creating a Point: Fold each end of the strip down diagonally, forming a point. The points should face outwards, away from each other. These points will form the petal shape.
Visual Aids: Diagrams or Videos
Include diagrams or, ideally, short video clips illustrating each step of the petal folding process. Visual learners will greatly appreciate this! Consider including these diagrams in a table:
| Step Number | Diagram/Video Snippet | Description |
|---|---|---|
| 1 | [Image/Video of Step 1] | Bill lying flat. |
| 2 | [Image/Video of Step 2] | Folding lengthwise. |
| 3 | [Image/Video of Step 3] | Folding to center. |
| 4 | [Image/Video of Step 4] | Folding in half again. |
| 5 | [Image/Video of Step 5] | Creating the points. |
Tips for Perfect Petals
- Practice Makes Perfect: Don't be discouraged if your first few attempts aren't perfect. Keep practicing!
- Crisp Creases: Ensure your creases are sharp and well-defined. This will give your petals a more polished look.
- Uniformity: Try to make each petal as uniform as possible. This will create a more balanced and aesthetically pleasing flower.
- Consider Variations: Once you've mastered the basic fold, experiment with different folding techniques to create unique petal shapes.
Assembling the Flower: Bringing Your Creation to Life
Now that you have your petals, it's time to assemble the flower.
- Gathering the Petals: Take 5-7 of your folded petals.
- Attaching to the Wire: Take a length of floral wire and bend one end into a small hook.
- Forming the Center: Place the first petal around the hook, securing it with floral tape. Wrap the tape tightly around the base of the petal and the wire.
- Adding More Petals: Add the remaining petals one by one, overlapping them slightly and securing each with floral tape. Arrange the petals to create a natural-looking flower shape.
- Securing the Base: Once all the petals are attached, wrap the floral tape tightly around the entire base of the flower to secure everything in place.
Achieving a Realistic Look
- Petal Arrangement: Pay attention to the arrangement of the petals. Overlapping them in a natural way will create a more realistic effect.
- Creating Layers: Experiment with different petal heights to add depth and dimension to your flower.
- Adding a Center: Consider adding a small bead or button to the center of the flower to conceal the wire and add a decorative touch.
- Shaping the Petals: Gently manipulate the petals to give them a more natural curve.
Finishing Touches: Adding the Final Flourishes
Now that the flower is assembled, it's time to add the finishing touches.
- Covering the Stem: Wrap the entire length of the floral wire with floral tape. This will create a smooth, finished stem.
- Adding Leaves: Attach artificial leaves to the stem for a more realistic look. Use floral tape to secure them in place.
- Adding Ribbons or Bows: Tie a ribbon or bow around the stem to add a decorative touch.
- Arranging Your Flowers: Display your money flowers in a vase or arrange them into a bouquet. You can also use them to decorate gifts or create unique centerpieces.
Display Ideas
- Single Stem in a Vase: A single money flower in a simple vase makes a striking statement.
- Money Flower Bouquet: Create a bouquet of money flowers in different colors and denominations for a truly impressive gift.
- Gift Topper: Attach a money flower to a gift as a unique and memorable embellishment.
- Centerpiece: Use money flowers to create a one-of-a-kind centerpiece for a special occasion.
Video: Como Hacer Flores Con Billetes: Easy Step-by-Step Guide
FAQs: Making Money Flowers
Want to learn more about how to make flores con billetes? Here are some frequently asked questions to help you get started:
What denominations of bills are best for making money flowers?
Smaller denominations like $1 or $5 bills are typically easier to work with, especially when you're first learning how to hacer flores con billetes. They're more flexible and allow for tighter folds. However, you can definitely use larger bills if you prefer a more valuable flower!
Can I use fake money for practice?
Yes! Using fake money or even old receipts cut to size is a great way to practice the folding techniques before committing real currency to como hacer flores con billetes. This helps avoid accidentally damaging real bills while you're learning.
How long does it take to make one money flower?
The time it takes to make one of these flores con billetes varies depending on the complexity of the design and your experience. A simple design might take 15-20 minutes, while more intricate arrangements can take an hour or more.
What’s the best way to display or gift a money flower?
Money flowers can be displayed in vases, bouquets, or even framed. When gifting, consider adding other elements like ribbons, tissue paper, or even small chocolates to make the presentation extra special. Make sure to secure the bills well so they don't unravel while the recipient is enjoying their flores con billetes.
So, that's the lowdown on como hacer flores con billetes! Go give it a try – you might surprise yourself (and someone special!). Happy folding!
