Florida Paver Slopes: Avoid These Laying Blunders!

Successfully laying concrete pavers on changing elevations in florida requires more than just muscle; it demands precision and understanding of the Sunshine State's unique environment. Proper drainage is critical, as heavy rainfall can quickly undermine a poorly installed paver system. The Florida Building Code offers specific guidelines regarding slope requirements and material selection, ensuring structural integrity and homeowner safety. Ignoring the expertise offered by reputable paver installation companies operating in Florida can lead to costly mistakes and structural damage. Using a laser level to establish consistent grades is essential when laying concrete pavers on changing elevations in florida, guaranteeing a level and aesthetically pleasing surface.
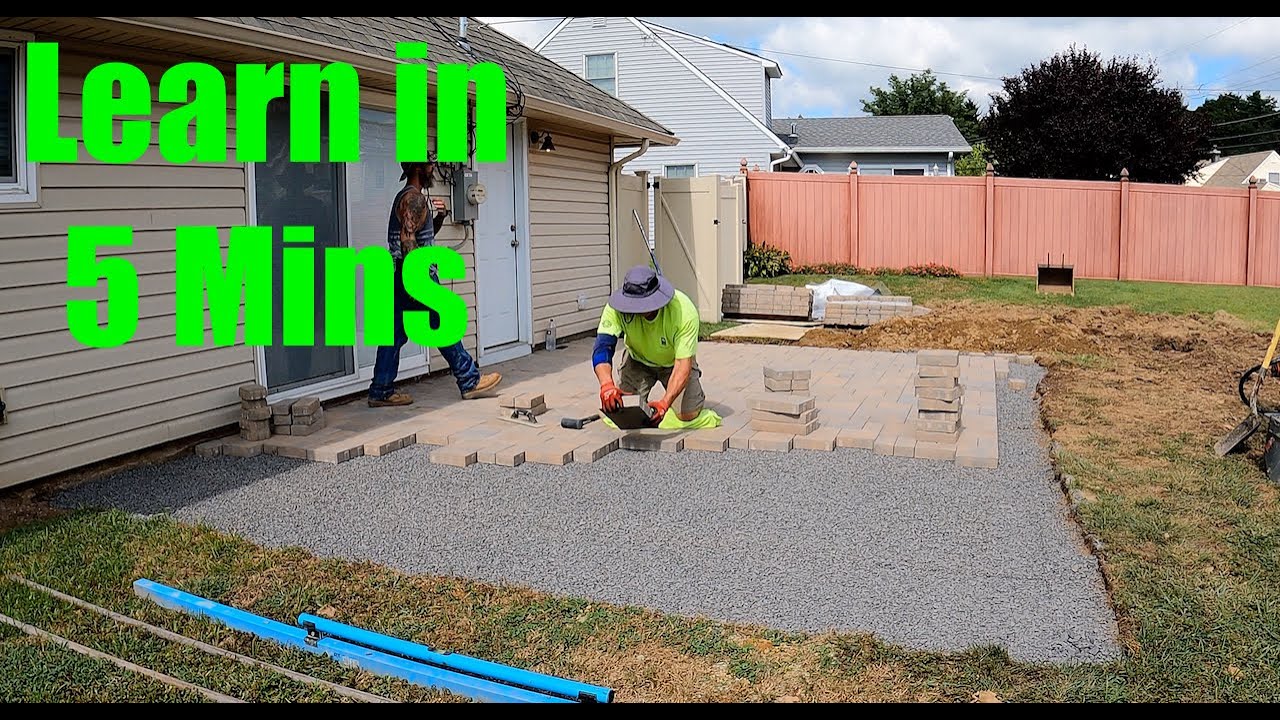
Image taken from the YouTube channel Sean Markee - SRM Contracting , from the video titled How to lay pavers .
Florida Paver Slopes: Avoid These Laying Blunders When Dealing with Changing Elevations
Laying concrete pavers on changing elevations in Florida presents unique challenges due to the state's often-unstable soil conditions and frequent heavy rainfall. A seemingly minor oversight can lead to significant problems down the road, including uneven surfaces, drainage issues, and costly repairs. Here’s how to avoid common mistakes and ensure a durable, aesthetically pleasing paver installation on sloped surfaces.
Understanding the Importance of Proper Slope Design
Before you even think about laying a single paver, it’s crucial to have a well-thought-out slope design. The primary goal is to manage water runoff effectively and prevent erosion.
-
Why Slope Matters: A properly designed slope ensures water flows away from buildings and other structures, preventing water damage and foundation issues. It also prevents pooling water which can lead to mosquito breeding and slip hazards.
-
Typical Slope Recommendations: A general rule of thumb is to aim for a minimum slope of 2% (1/4 inch per foot) for paver surfaces. However, this can vary depending on the specific site conditions and the type of paver being used. Consult local building codes for specific requirements.
-
Assessing Existing Terrain: Carefully evaluate the existing ground contours. Identify any natural slopes, low spots, and potential drainage pathways. This assessment will inform your slope design and help you determine the best way to integrate the paver surface with the surrounding landscape.
Critical Steps Before Laying Pavers
Proper preparation is paramount for successful paver installation on slopes.
1. Soil Compaction is Key
- Importance of a Solid Base: The base layer provides the foundation for the pavers and must be properly compacted to prevent settling and shifting.
- Compaction Methods: Use a plate compactor to compact the soil in lifts (layers) of no more than 4-6 inches. This ensures even compaction throughout the base layer.
- Compaction Testing: After compaction, verify the soil density using a soil compaction tester or by observing the ground's resistance to penetration. Consult with a local contractor for appropriate compaction levels, as soil types vary.
2. Proper Base Material Installation
The base material provides a stable and level surface for the pavers.
- Gravel Selection: Use a well-graded aggregate base material, such as crushed concrete or gravel, that is specifically designed for paver installations. Avoid using sand as a base material as it can easily erode on a slope.
- Layer Thickness: The thickness of the base layer will depend on the intended use of the paver surface and the soil conditions. A typical base layer is 4-6 inches thick.
- Leveling the Base: Use a level and a screed board to ensure the base material is perfectly level before laying the bedding layer. This will prevent uneven paver surfaces and potential tripping hazards.
3. Bedding Layer: Sand vs. Crushed Stone
The bedding layer is a thin layer that sits on top of the base material and provides a smooth surface for the pavers. While sand is often used, crushed stone is generally recommended for sloped surfaces in Florida.
- Why Crushed Stone is Better: Crushed stone (e.g., chip and dust) interlocks, providing greater stability and resistance to erosion compared to sand, especially with water runoff.
- Bedding Layer Thickness: The bedding layer should be thin, typically 1-2 inches. Too much bedding material can lead to instability and paver movement.
- Screeding the Bedding Layer: Use screed rails and a screed board to create a perfectly level and smooth bedding layer.
Laying Pavers on a Slope: Essential Techniques
Laying pavers on a slope requires careful attention to detail.
1. Starting Point and Pattern
- Establish a Reference Line: Begin by establishing a reference line at the lowest point of the slope. This line will serve as a guide for laying the first row of pavers.
- Choose the Right Pattern: Consider patterns that provide interlocking support, like herringbone or running bond, which offer superior stability compared to simpler patterns like a stack bond.
2. Cutting and Fitting Pavers
- Accurate Measurements: Measure carefully before cutting pavers. Use a paver splitter or a wet saw with a diamond blade for clean, precise cuts.
- Proper Fit: Ensure that the pavers fit snugly together, with minimal gaps. Use a rubber mallet to gently tap the pavers into place.
3. Edge Restraints
Edge restraints are essential for preventing pavers from shifting or sliding down the slope.
- Types of Edge Restraints: Options include plastic edging, concrete curbing, or metal edging. Choose an edge restraint that is appropriate for the size and type of pavers being used.
- Secure Installation: Install the edge restraints securely, ensuring they are properly anchored into the ground. Follow the manufacturer's instructions for installation.
Addressing Drainage on Sloped Paver Surfaces
Effective drainage is crucial to prevent water damage and ensure the longevity of your paver installation.
1. Incorporating Drainage Features
- Swales: Consider incorporating swales or shallow channels to redirect water away from the paver surface.
- French Drains: Install French drains (gravel-filled trenches with perforated pipes) to collect and divert subsurface water.
- Permeable Pavers: Consider using permeable pavers that allow water to infiltrate into the ground, reducing runoff.
2. Maintaining Drainage Pathways
- Regular Cleaning: Regularly clean the paver surface to remove debris that can clog drainage pathways.
- Inspecting Drainage Features: Periodically inspect drainage features, such as swales and French drains, to ensure they are functioning properly.
Troubleshooting Common Slope-Related Paver Problems
Even with careful planning and execution, problems can arise.
| Problem | Possible Cause | Solution |
|---|---|---|
| Pavers Shifting | Inadequate base compaction, improper edge restraints, erosion of bedding layer | Re-compact the base, install or reinforce edge restraints, replace bedding layer with crushed stone. |
| Uneven Surface | Uneven base material, settling of soil | Lift and re-lay pavers, re-level base material, address underlying soil issues. |
| Pooling Water | Insufficient slope, clogged drainage pathways | Adjust the slope, clean drainage pathways, install additional drainage features. |
| Erosion around Pavers | Improper drainage, unstable soil | Improve drainage, stabilize the soil with erosion control measures. |
Video: Florida Paver Slopes: Avoid These Laying Blunders!
